What to Know Before Your Red Hair Transformation
I’ve always loved coloring red hair. Specifically, I love transforming those without natural red hair to be natural-looking redheads. As part of being a professional, I consider it my job to at least point out to my new clients if they would be suited for any color in particular. Even if you’re a dark brunette that is just on the book that day for a root touch-up, I think it’s important to offer ideas and suggestions to think about for the future. I imagine how awful it would be if somebody’s best color is a copper or strawberry blonde, for instance, but they never considered it a possibility because nobody ever suggested it. Well, if you HAVE thought about it, this post is for you. Here’s everything I think you should know before we make the big change!
Step 1: Choosing The Right Shade of Red
Redheads come in a wide range of tone, but those with naturally “red” hair are either darker brown like chestnut or auburn, medium copper or ginger, or lighter strawberry blonde. Most natural shades of red don’t have dark violet, berry, or cherry tones, so for this post we’re going to overlook these reds.
If you have fair-to-medium skin tone with warm undertones, most red hair will suit you really well. And if you have freckles, it’s a big indicator that copper will look great on you. Olive skin usually does not lend itself to copper, but sometimes a darker brown shade with warm red undertones can be a complement. Blue, green and hazel eyes will generally be enhanced by the contrast that warm red hair provides. If you naturally have lighter hair, it’s a bit simpler to achieve a copper tone, and it’s one sign that this color can look good on you as well.
The key to creating a customized red color for each individual is to consider 3 things:
Level (lightness to darkness)
Hue (the particular color, whether it be more brown, red, orange, or yellow based), and
Chroma (the amount of vibrancy or saturation of the color)
Taking these adjustments into account, more people than you think can look great as a redhead.
My best advice is to schedule an appointment at the salon to consult about your specific desires and talk about exactly what shades may be a complement for you.
Step 2: Mental Preparation
Red hair is one of the most in-your-face haircolors (besides platinum blonde IMO) and it may be suited to your personality and style, and it may not. Copper conveys adventurousness and confidence, and once you transform to these shades you really will be more of an attention grabber. Even with a less vivid shade of red, this big change is going to draw eyes to you and your new hair, so make sure that this aligns with your comfort level. It’s a must to have a certain level of self-confidence so you’re wearing this new color and not the other way around! Though, in my experience becoming a redhead can sometimes bring out a new, bold side to your personality that may have been kept hidden beforehand.
“You’d find it easier to be bad than good if you had red hair. People who haven’t red hair don’t know what trouble is.”
Step 3: Experimentation
I’m a big fan of low-commitment transformations. So many of my clients have taken the plunge and have since never gone back brown or blonde. If you’re curious to try being a redhead, but you don’t want me breaking out the permanent color yet, there’s a much better alternative for your first service. Here are some examples in the slideshow below:

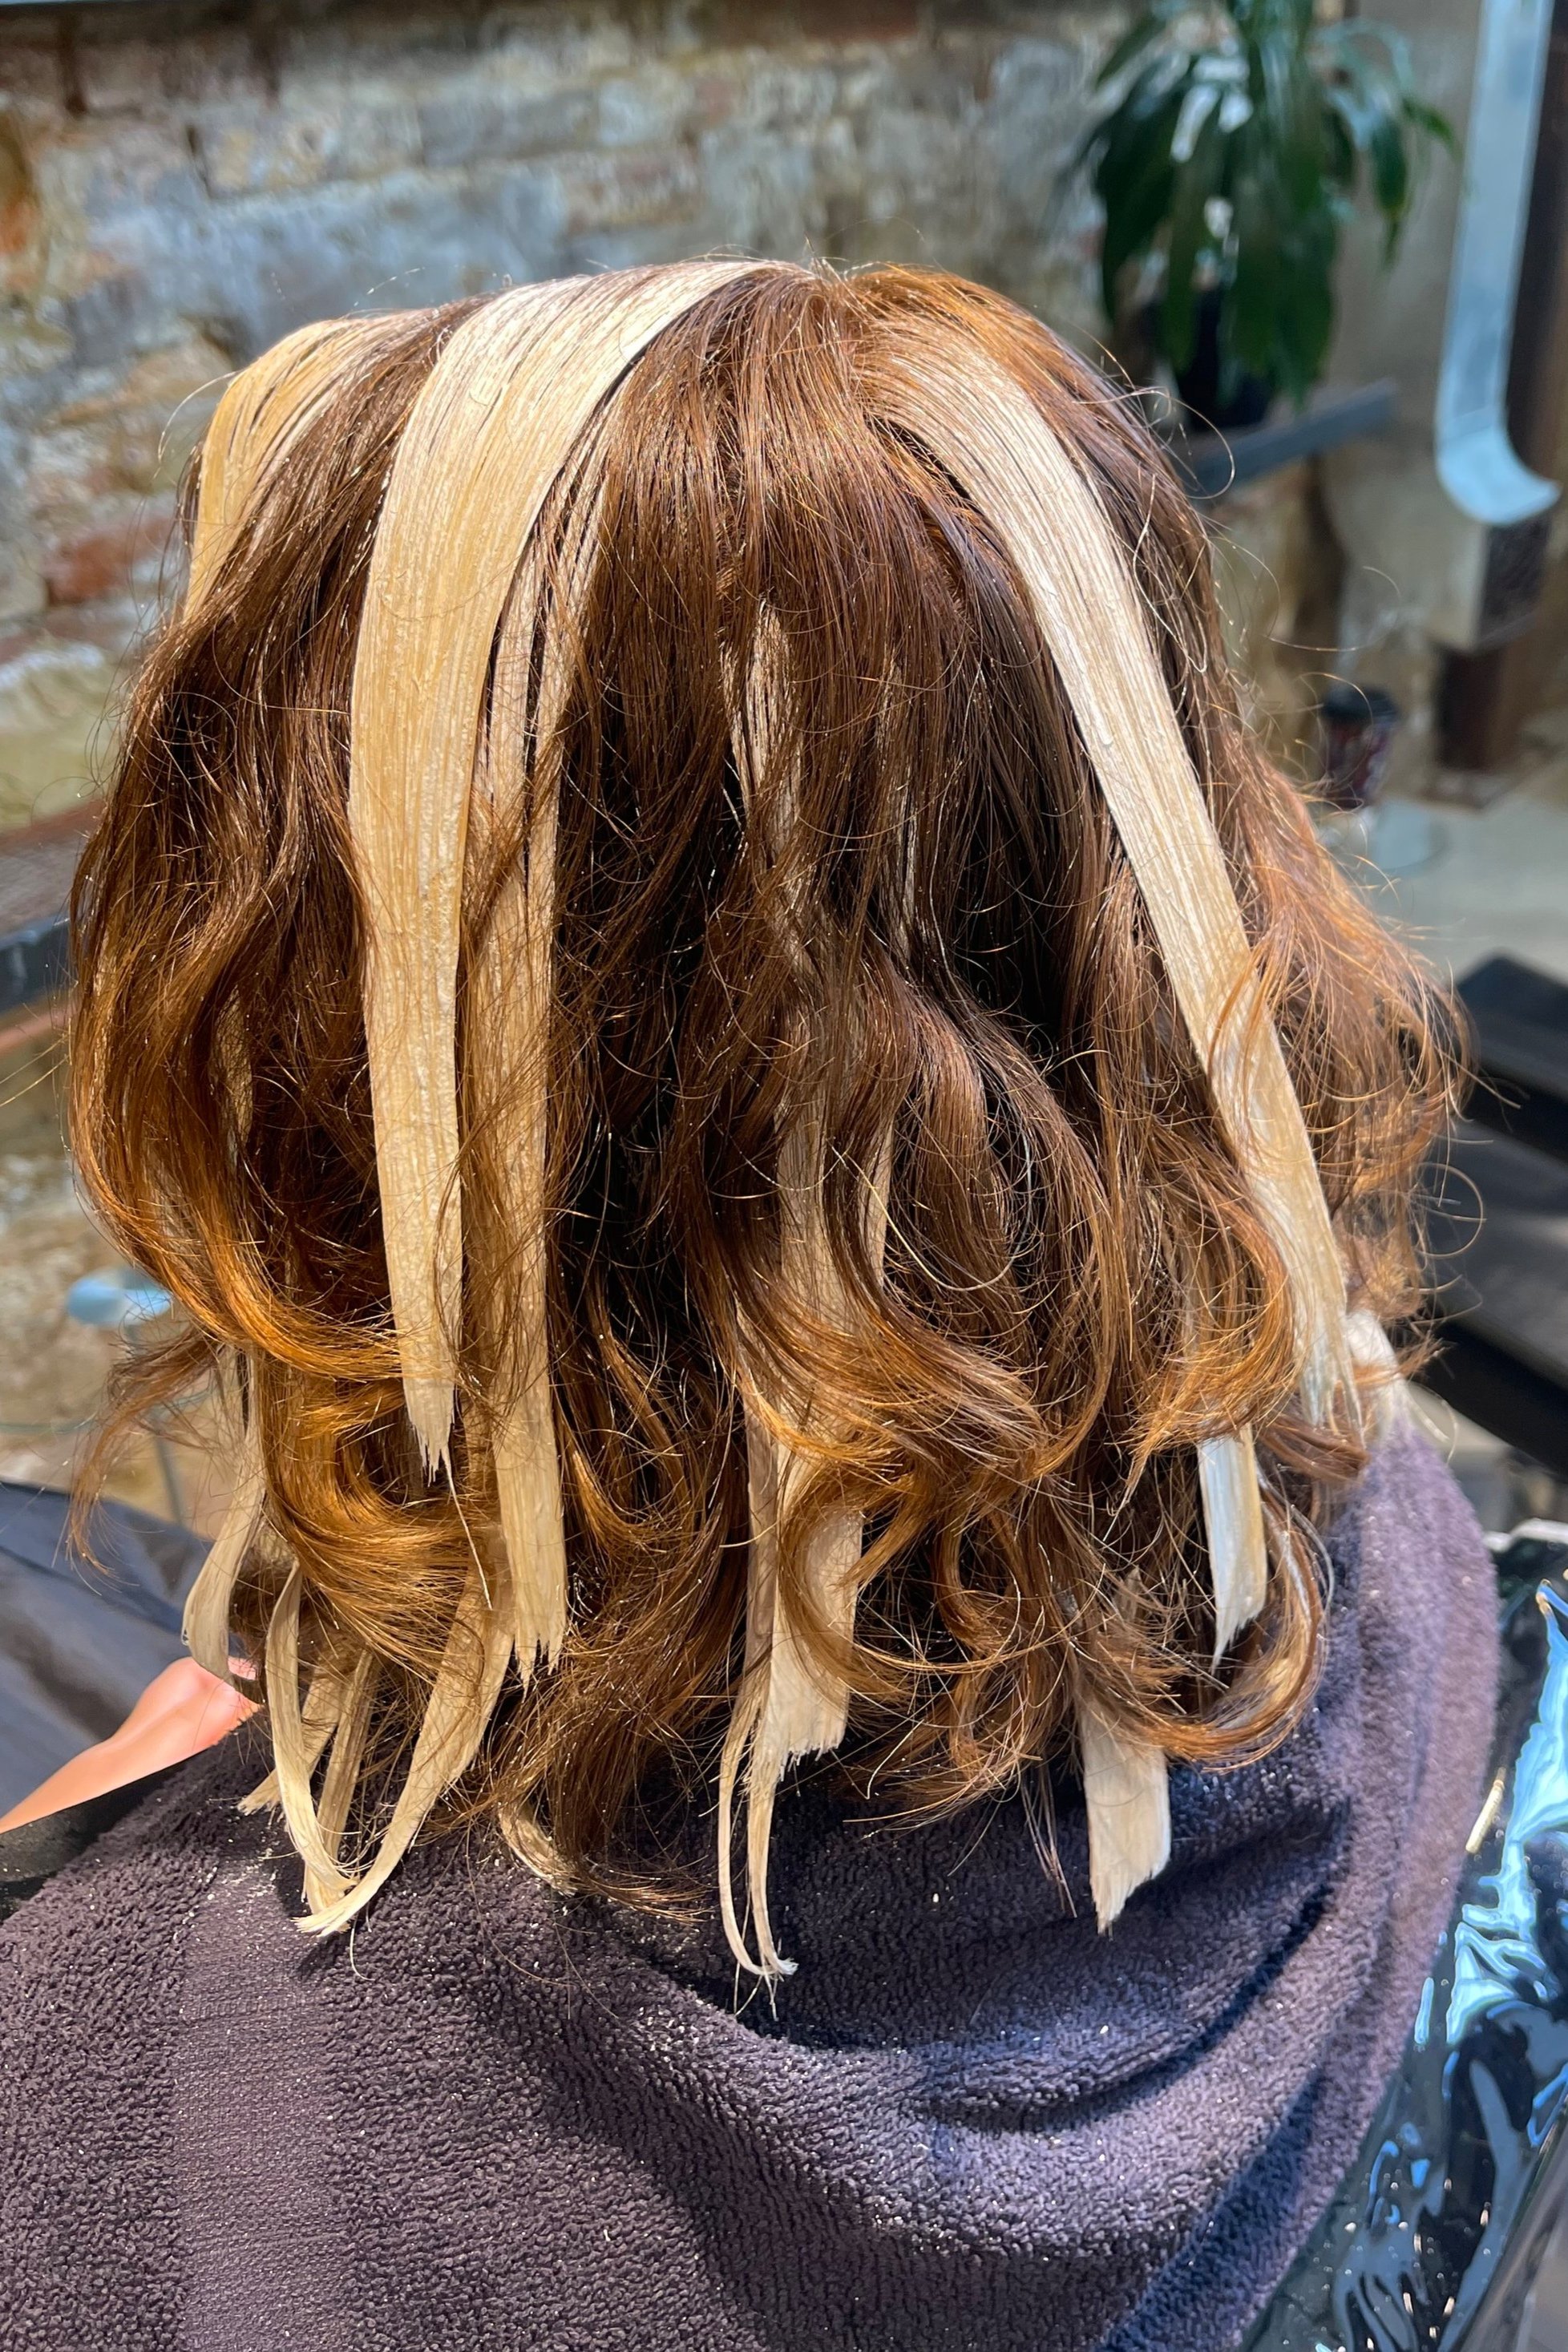
If you’re a brunette, doing some highlighting onto which we tone a copper can be a great first introduction to the shade. You’ll be able to have a sense of what it feels like to wear this new color for the next few weeks, and the vibrancy will slowly fade until your next appointment. This is because using a no-lift demi-permanent color to gloss your highlights will not affect your natural hair color, and it fades on-tone really softly. Your roots will grow in relatively seemlessly, and you should still feel more-or-less like a brunette by your next appointment.
If you’re a blonde, the same technique can be applied. However, copper or strawberry tones on all-over blonde hair will definitely have more of an impact than if you were a brunette. The commitment level is still relatively low compared to applying permanent color to your natural hair, and the line of demarcation from your regrowth between appointments will be blurrier as well. In the event that you’d like to go back blonde, it’s much less aggressive on your hair to have to lighten through a gloss than it is trying to lighten out permanent color.
Step 4: Full Redhead
By your next appointment, if you’re happy with the longevity and growout of your first taste of red, we can keep doing the same thing: add a little bit of highlighting if necessary, and then gloss the red tone to refresh it again.


But if you’re naturally darker than the copper you want to be and you’re ready to commit, I actually think that one round of permanent color over all your hair is an important step. It really solidifies the change and transforms every hair to be that lighter warmer color, whereas highlighting and toning can sometimes only give the illusion of it. Now permanent color isn’t permanent, but it will ensure that the way your hair fades will be on-tone and you won’t brown out as quickly. This is called a Single Process Color, and it’s important to establish this base color so that your hair doesn’t fade too light or too blah between appointments. Keep in mind that if you’re a lighter blonde who is becoming red, the first process usually will fade the fastest because we’re applying color to “hollow” hair. You may need a gloss in a few weeks to refresh the color before your subsequent appointments, but from there on out it’ll be regularly scheduled touchups.
Once the base color is established, it’s sometimes fun to add in some highlights. Natural redheads don’t have a ton of blonde in their hair, but every few appointments you can schedule a Color + Highlights service. These balayage pieces can be painted on at the same time as your Single Process, and it only adds on an extra 15-30 minutes to the appointment. When gloss is applied to these highlight pieces they take on a brighter, glowy hue of copper and look really pretty. This is especially nice on a copper base that is a little more brown, but then you’ll get some blended pieces where the tone of the color pops!
“Out of the ash I rise with my red hair and I eat men like air.”
Step 5: Salon Maintenance
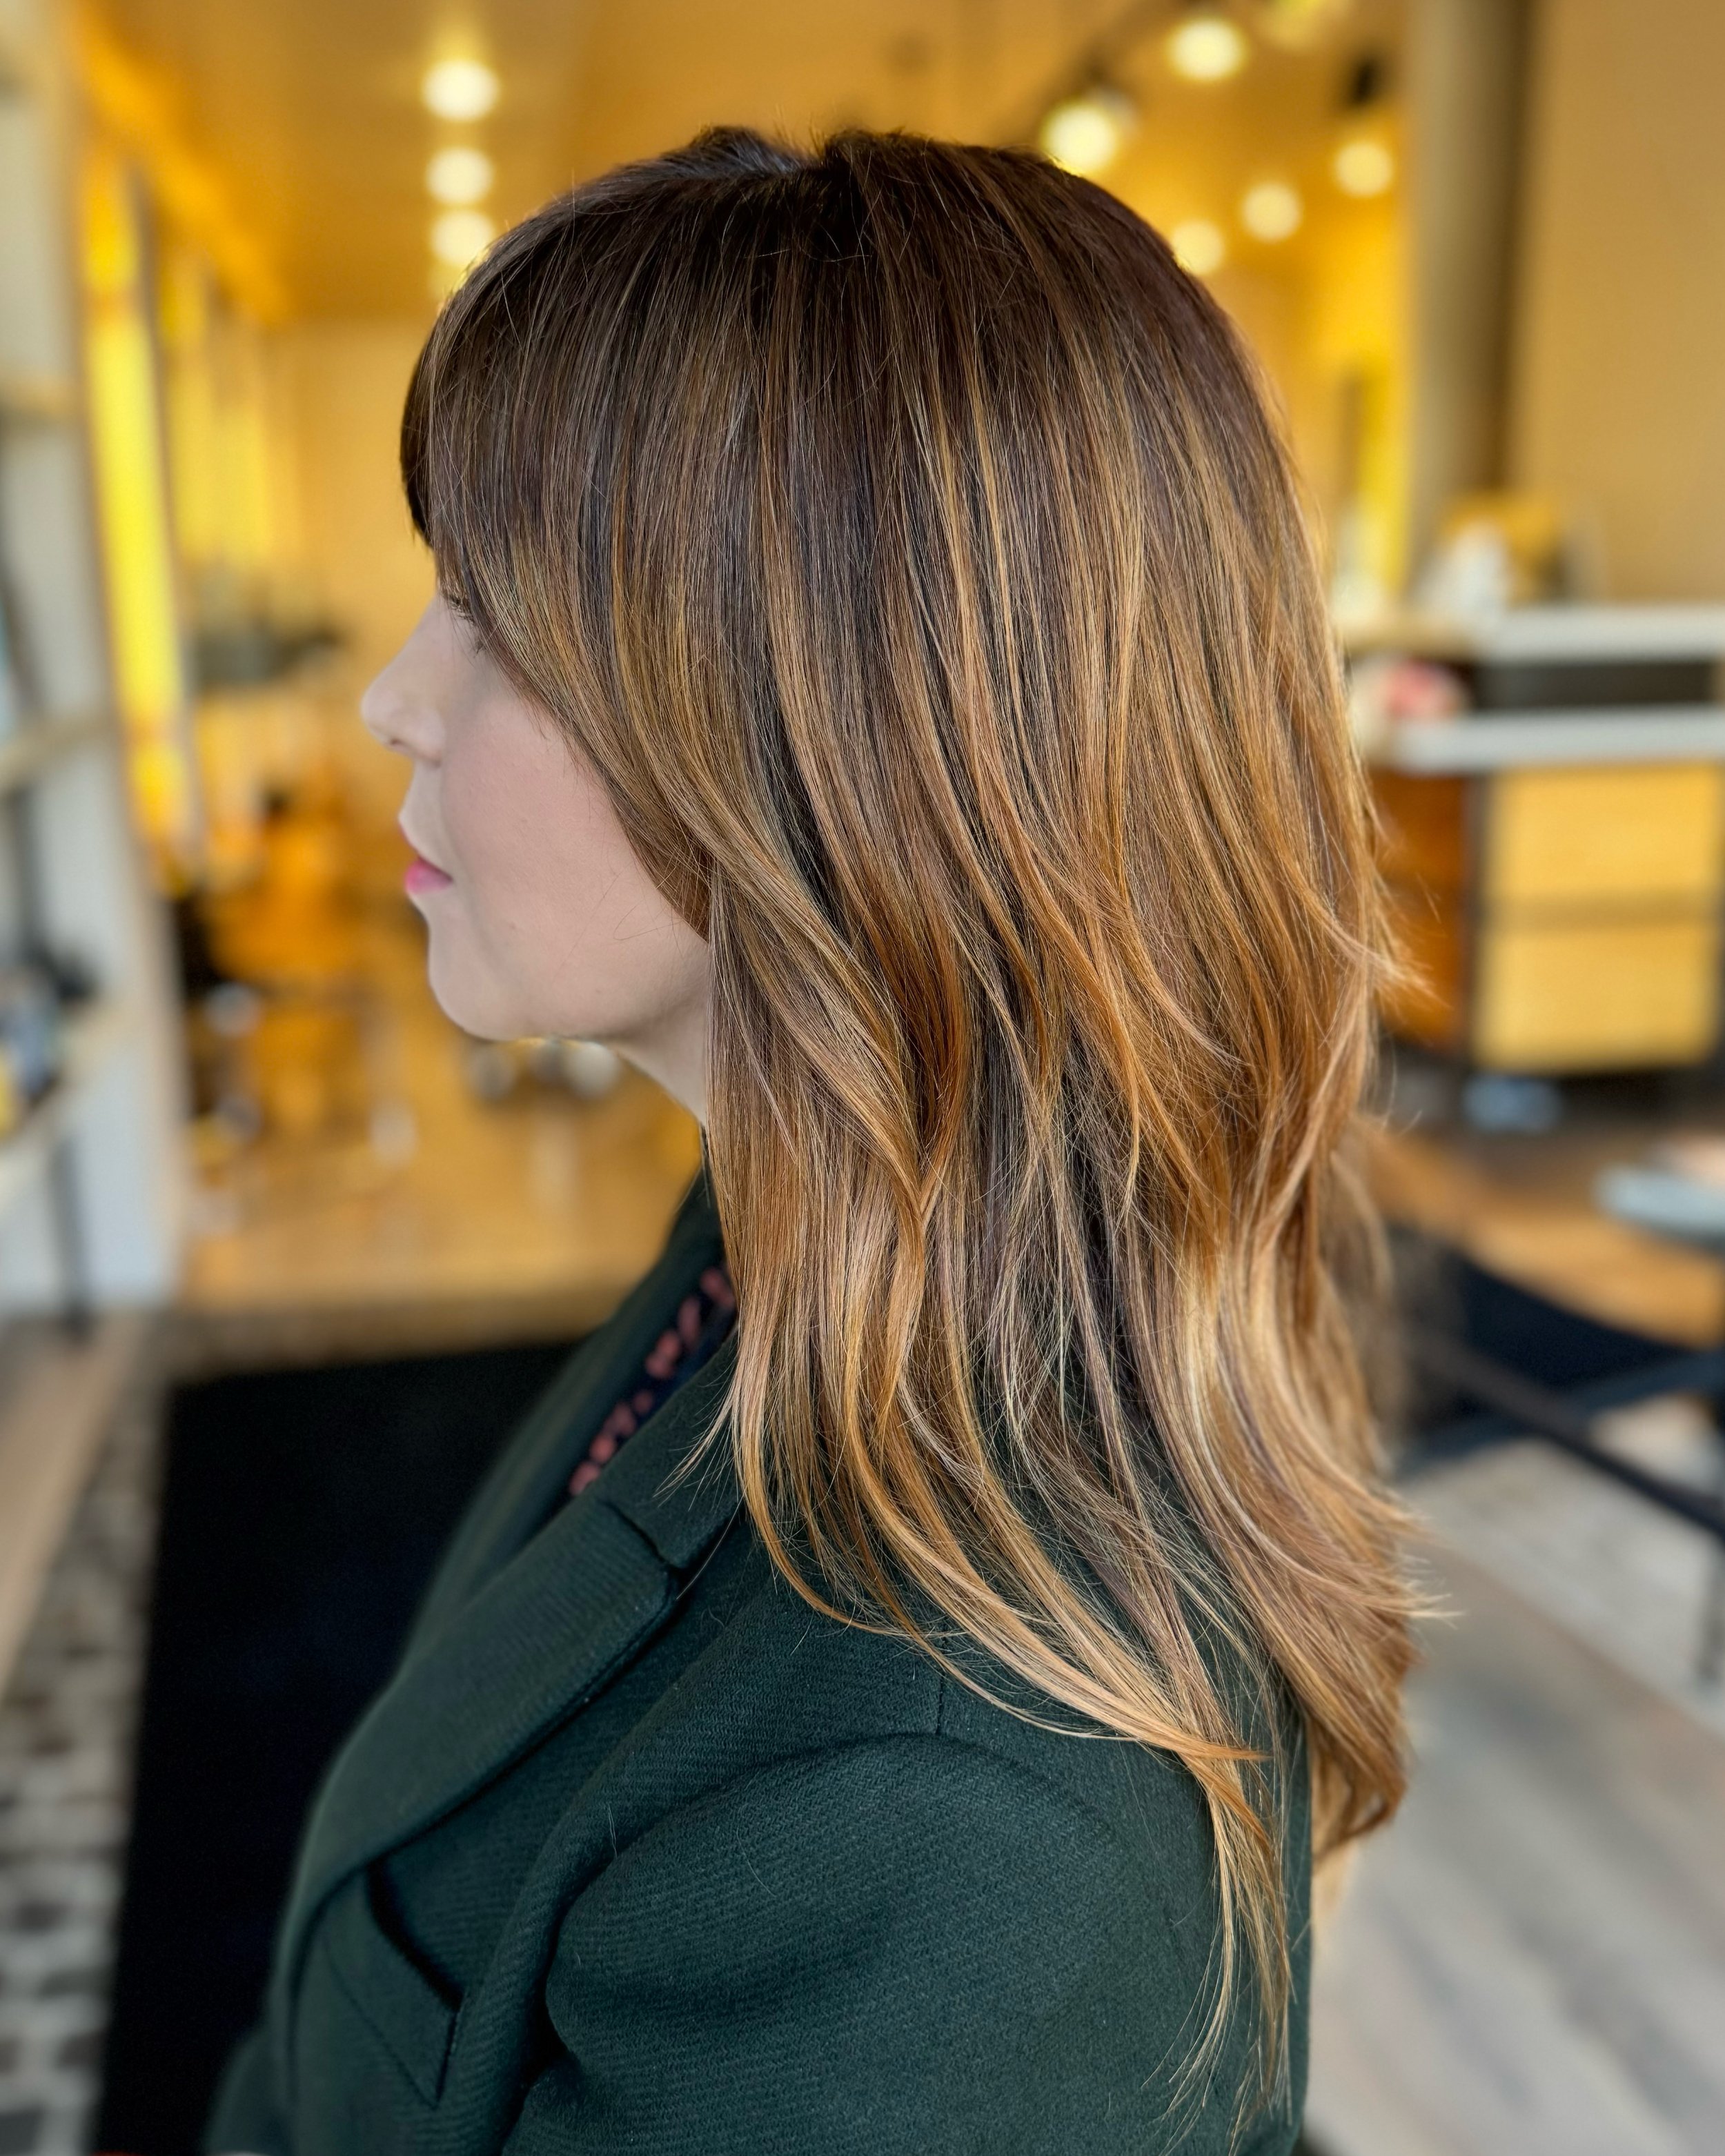
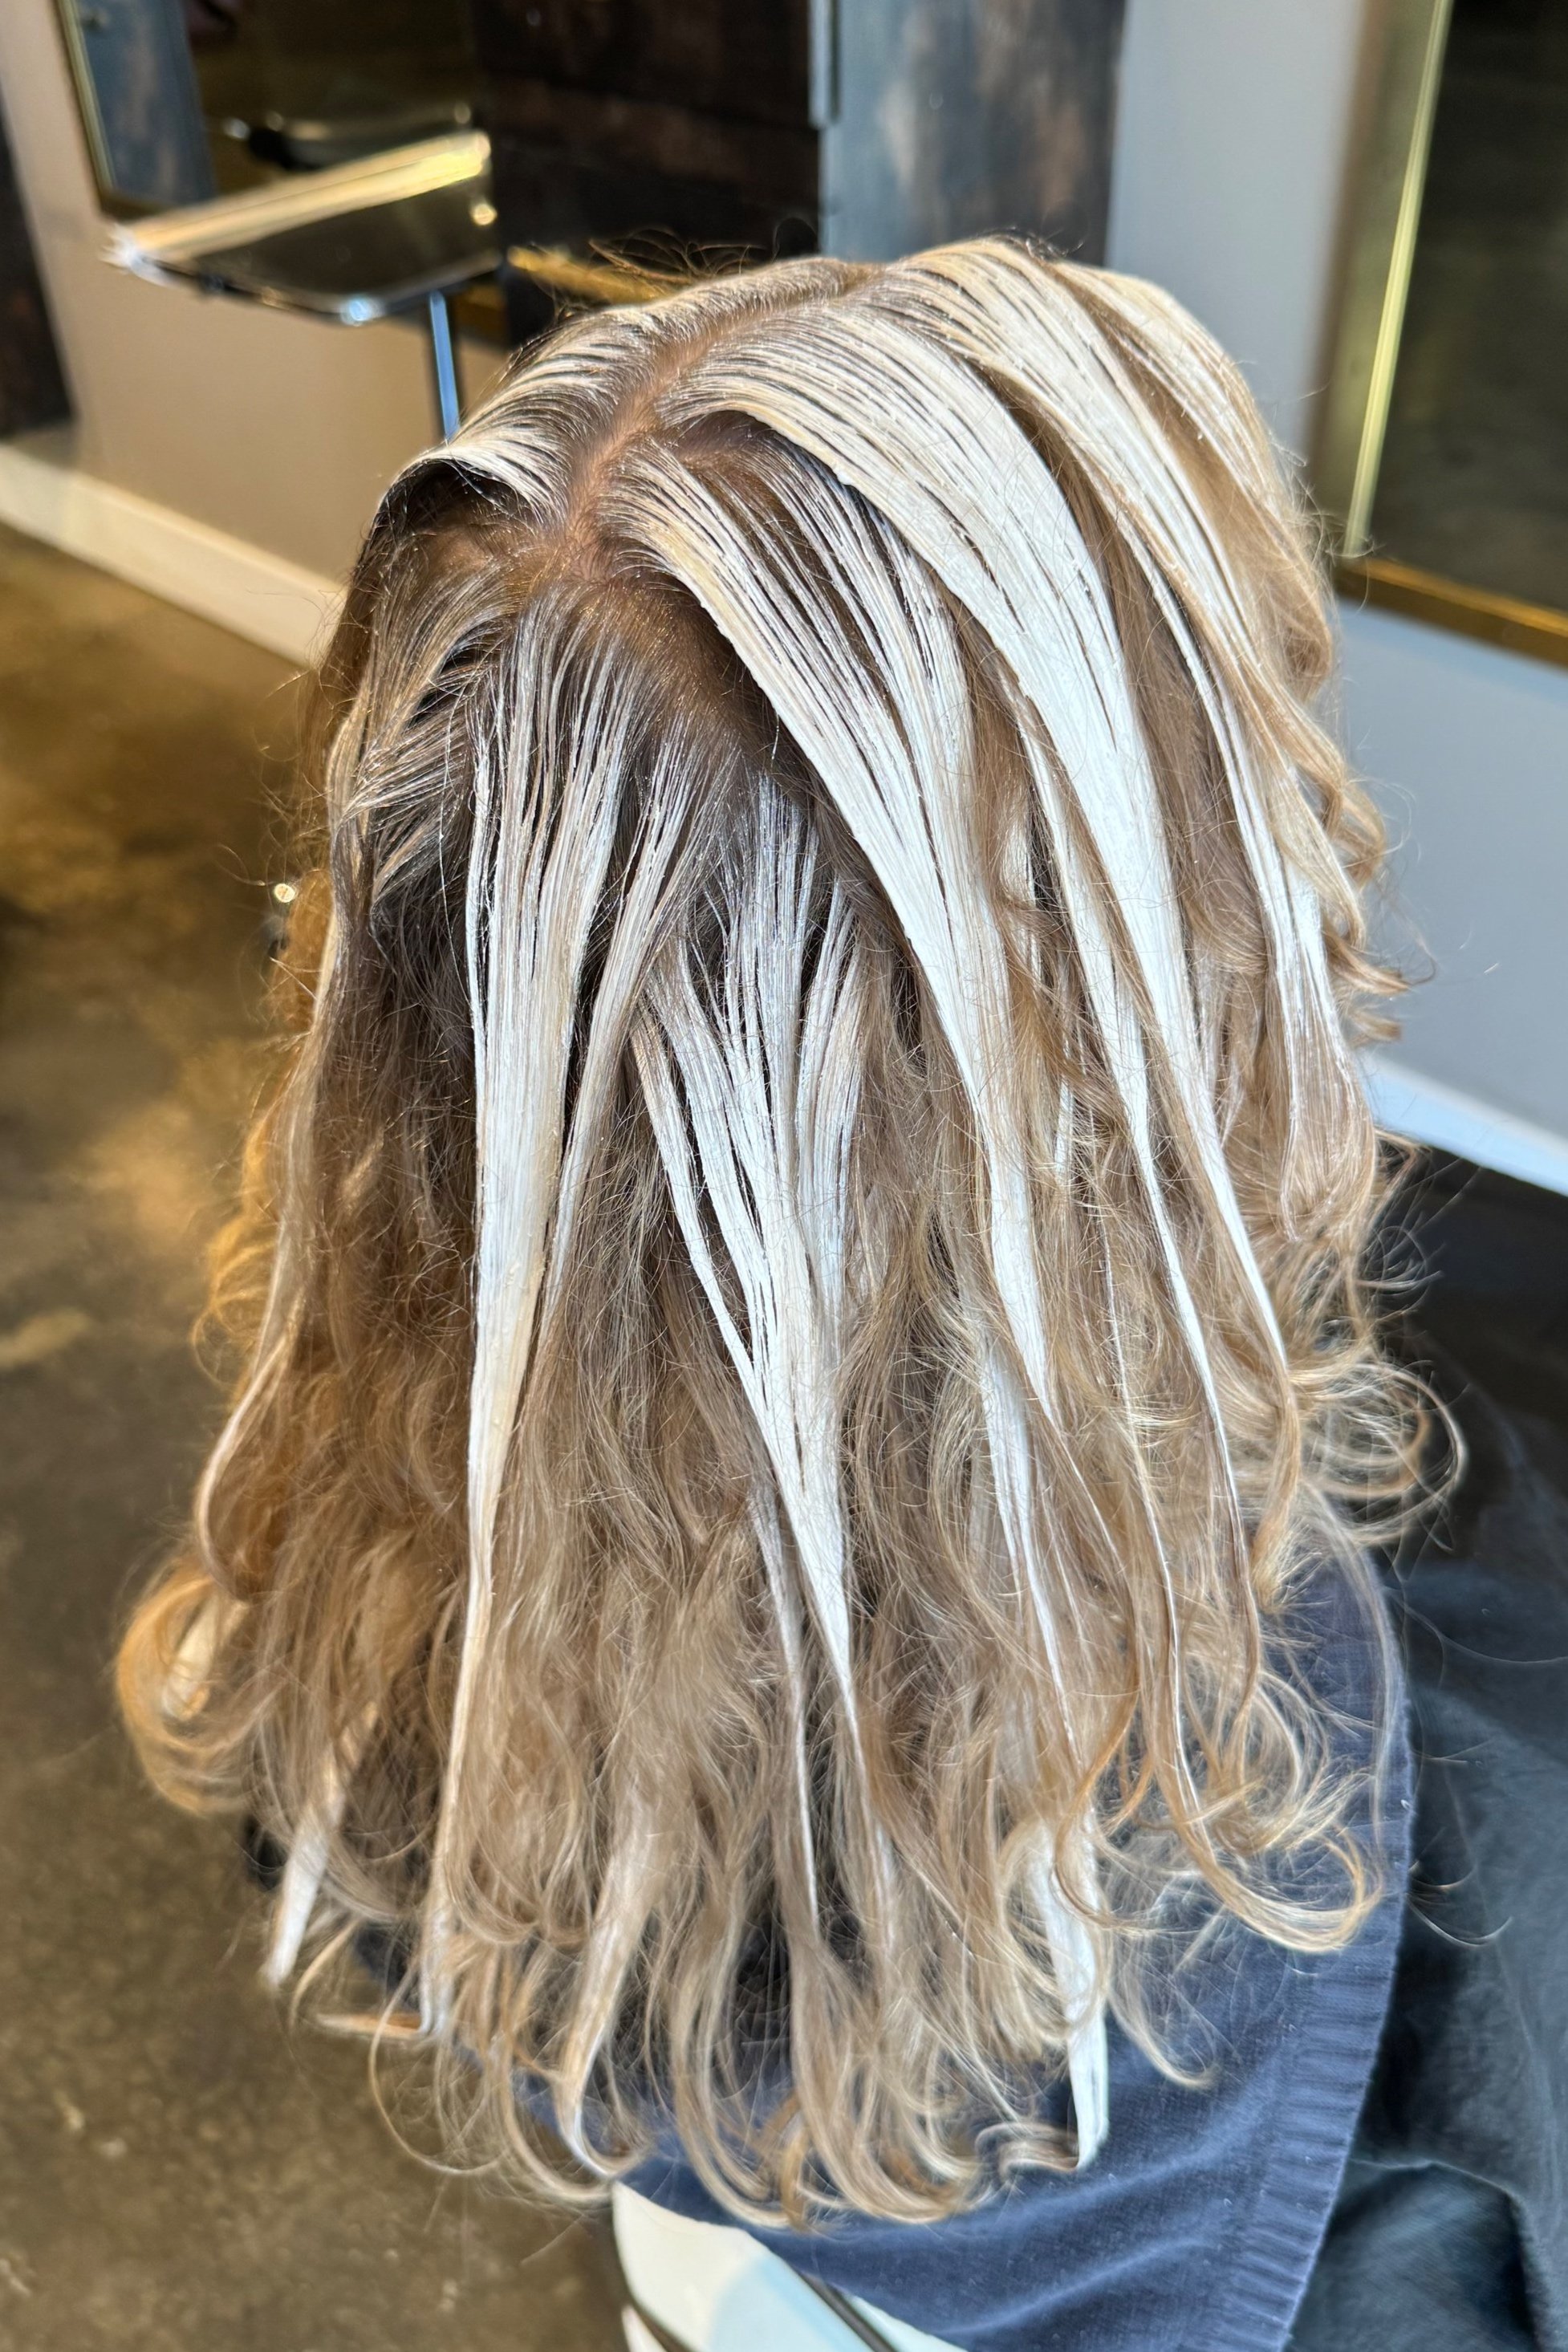
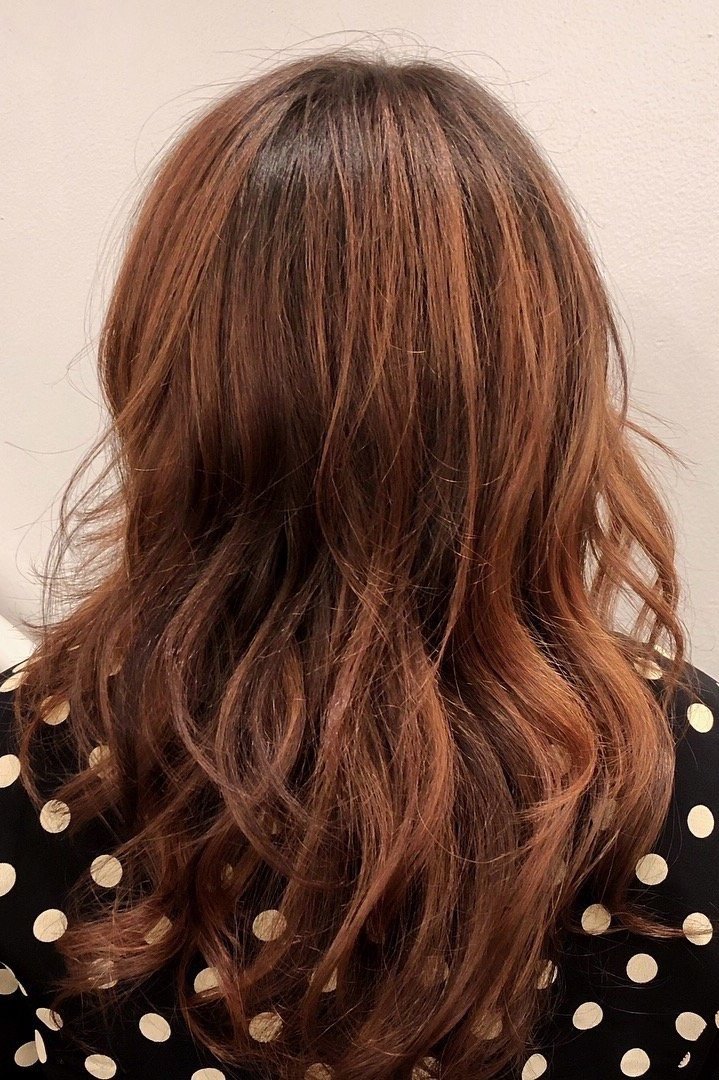
Besides refreshing the color fadage, the most critical piece of maintenance to keep in mind is the timing of the retouch of your Single Process Color. In the photo above, notice how much darker my client’s natural color is compared to the target copper color.
In order to lift dark hair cleanly and evenly, retouches should be done no less frequently than every 7 weeks, and 4-6 weeks is ideal. Have you ever seen a redhead with bright, glowing roots and a dull band right past it? Well this is what happens with long roots, and to correct this, your retouch appointment will actually be more costly and complex to achieve an even result. 4-6 week retouches generally line up perfectly with the amount of time that the color on your ends stays bright. So when you come in for your Single Process retouch, your ends will be glossed and refreshed at the same time.
Step 6: At-Home Maintenance
Because reds fade so much more noticeably than other colors, it’s essential to incorporate some good habits to your at-home routine.
No super hot showers, at least on your shampoo days
Try to limit shampoo days to as infrequently as will keep your hair and scalp healthy and normal. For some, this is every other day, and for others it could be every 1-2 weeks.
Consider switching to or alternating shampoo days with a cleansing cream. Using a cleansing cream every other shampoo is essentially like shampooing half as much.
If you can’t get used to a zero-lather cleansing cream, use a color preserving shampoo and conditioner like Oribe Shampoo & Conditioner for Beautiful Color. There are extra ingredients in this line called bioflavonoids which are responsible for preserving the hues you see in berries, and it will allow your hair to retain the haircolor similarly. This line also has UV protection which protects your hair from the sun’s degrading effects. You can pick up this product with me at the salon.
Use a color-tinted hair mask occasionally that will impart small amounts of copper pigment back into your hair. A couple of my favorites are Davines Alchemic Copper and Christophe Robin Chic Copper Mask. These masks can be used in place of your conditioner once every second or third shampoo and left on for 5 minutes or so. Try to apply this mask evenly throughout your entire hair, even at the scalp. They’re meant to replace what pigment was lost during your shampoo, and they leave your hair feeling really soft and shiny.
Pro-tip: they won’t stain your hands, but I wouldn’t use a white towel right after either. No need to be scared of these. They don’t look like Manic Panic orange, and they’re very user-friendly.Only use thermal tools or a hot blowdryer with a heat protectant first. The products I use at the salon are dermatologically tested and trialed to withstand up to 450° of heat. When your hair is not protected it can not only fade color, but severely damage your hair. Heat damage is becoming so common these days, and unfortunately the worst cases are generally irreversable. There are products to heal and repair damaged strands, but largely this damage just has to be cut off.

Step 7: Bonus Points
Brows: Brow color is something that always comes up when doing a red transformation. On most people, coordinating the eyebrows and hair really does tie the whole look together. Now when I say “coordinating” I don’t mean matching. If you look at humans with no artificial haircolor at all, unless your hair is black, the eyebrows generally are not the exact same color as your hair. Eyebrows should be as dark or slightly darker than the darkest part of your hair to look natural. That’s not saying that lighter brows don’t look great, they just don’t really look natural unless your hair is super blonde. With copper, it’s a really easy tweak to warm up your brows at the salon to make them harmonize with the level of warmth in your new hair. On a case by case basis, the contrast may look good to leave them as is, but I’d say 80% of the time, change them. It looks really natural and maybe not even noticeable to a stranger if you haven’t told them you’ve done it. Maintenance color on brows is a non-issue. The eyebrow hairs are so short that they just fall out before any regrowth is noticeable, and because we wash our face so frequently, the color fades in a way that it syncs up pretty well with regular root touchups.
Makeup: A lot of clients ask me about makeup and if they need to change all of their products as well. I don’t know a whole lot about makeup, but in my opinion, if you’ve already been using makeup shades that are compatible with your complexion already, changing your haircolor won’t interfere. We’ll be choosing a haircolor that is harmonious with your coloring anyway, so it should all tie together. Go treat yourself to a new lipstick, but don’t feel like you need to throw all your current makeup in the bin.
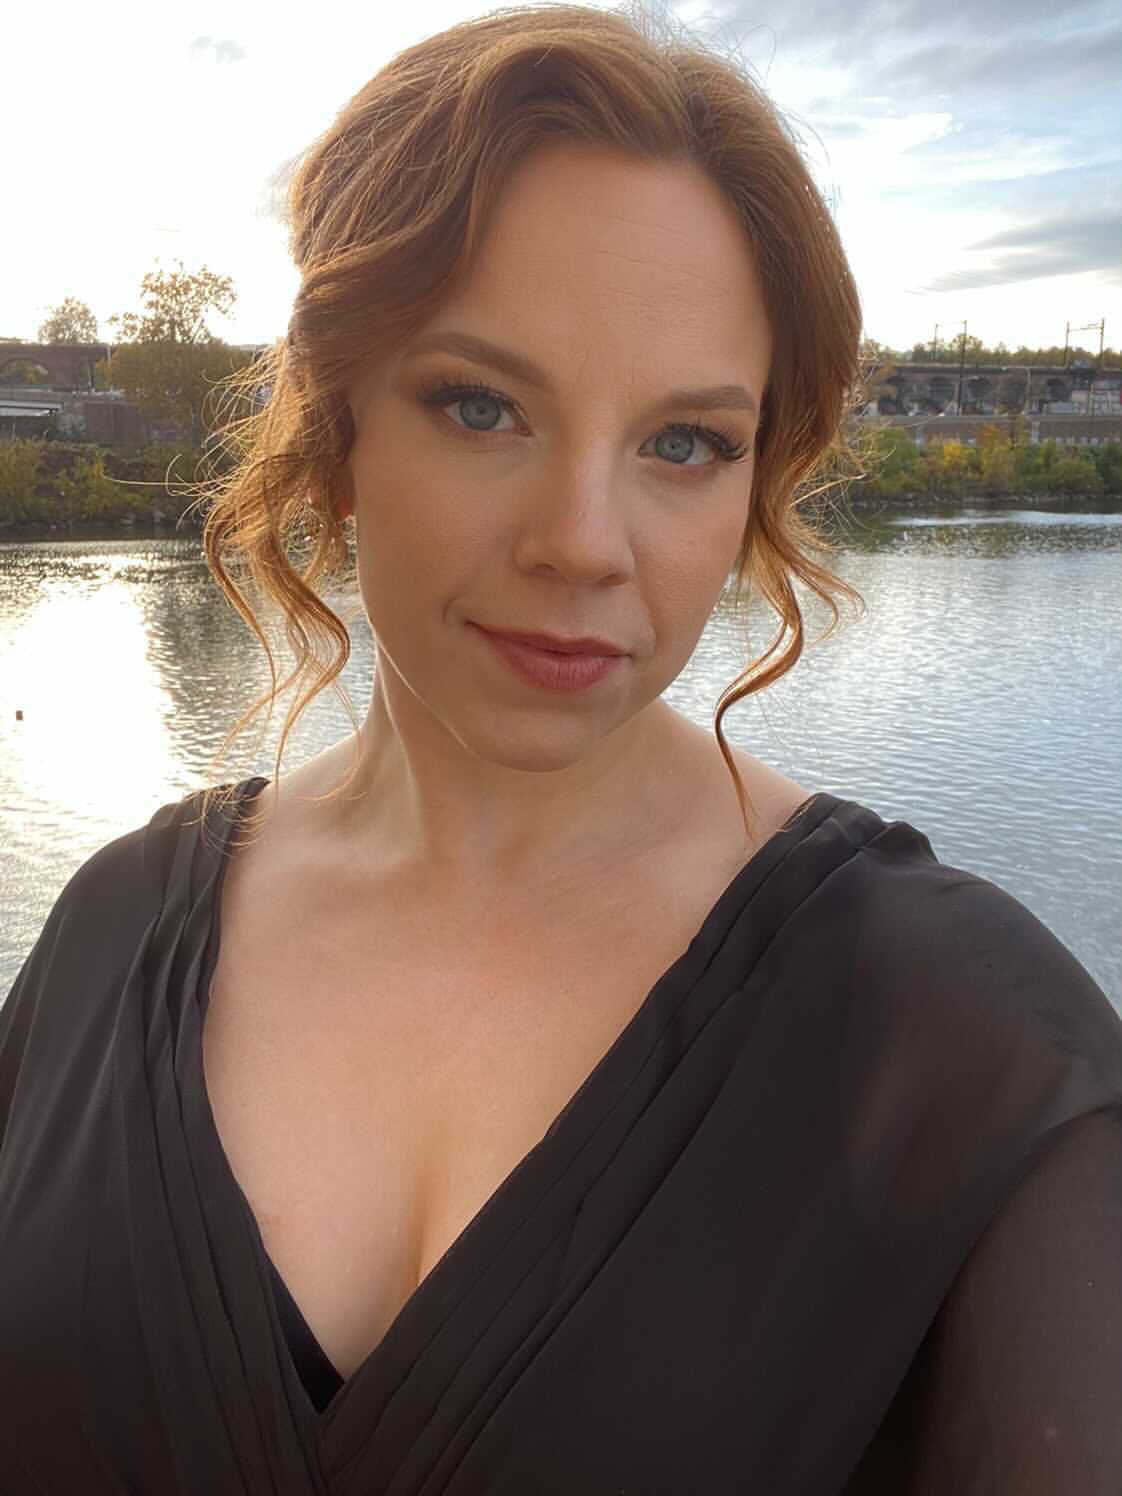
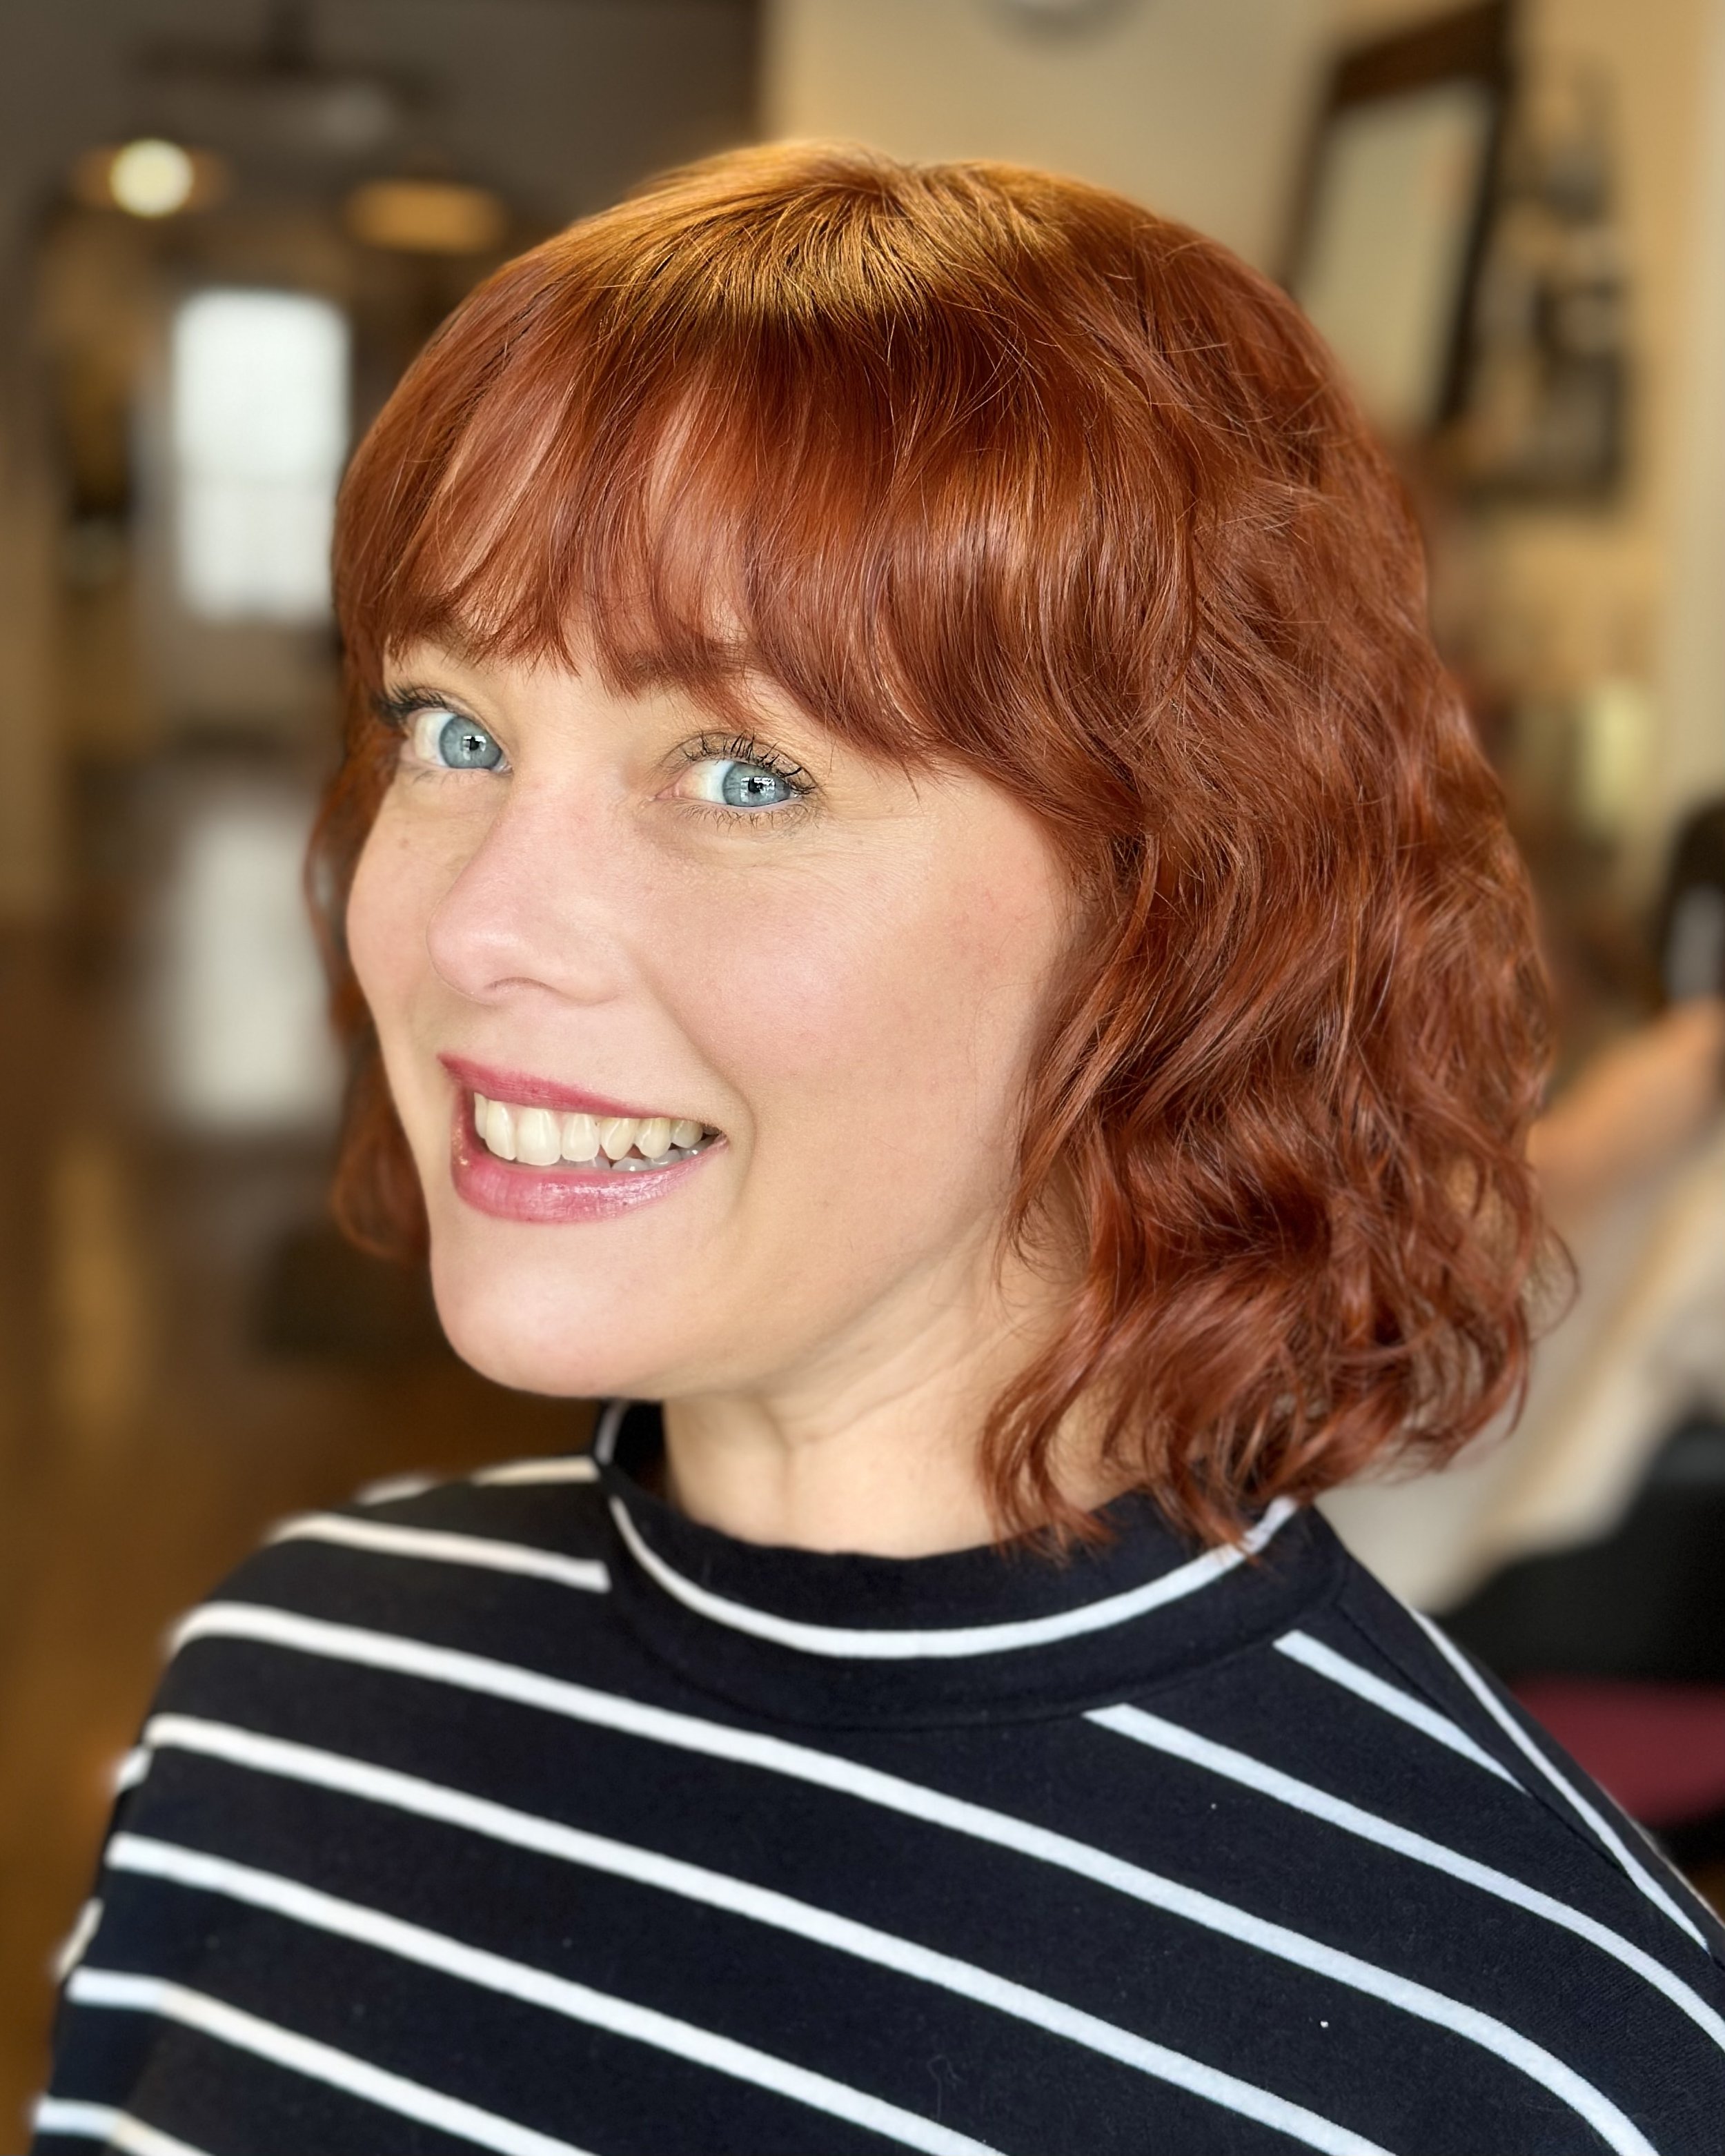
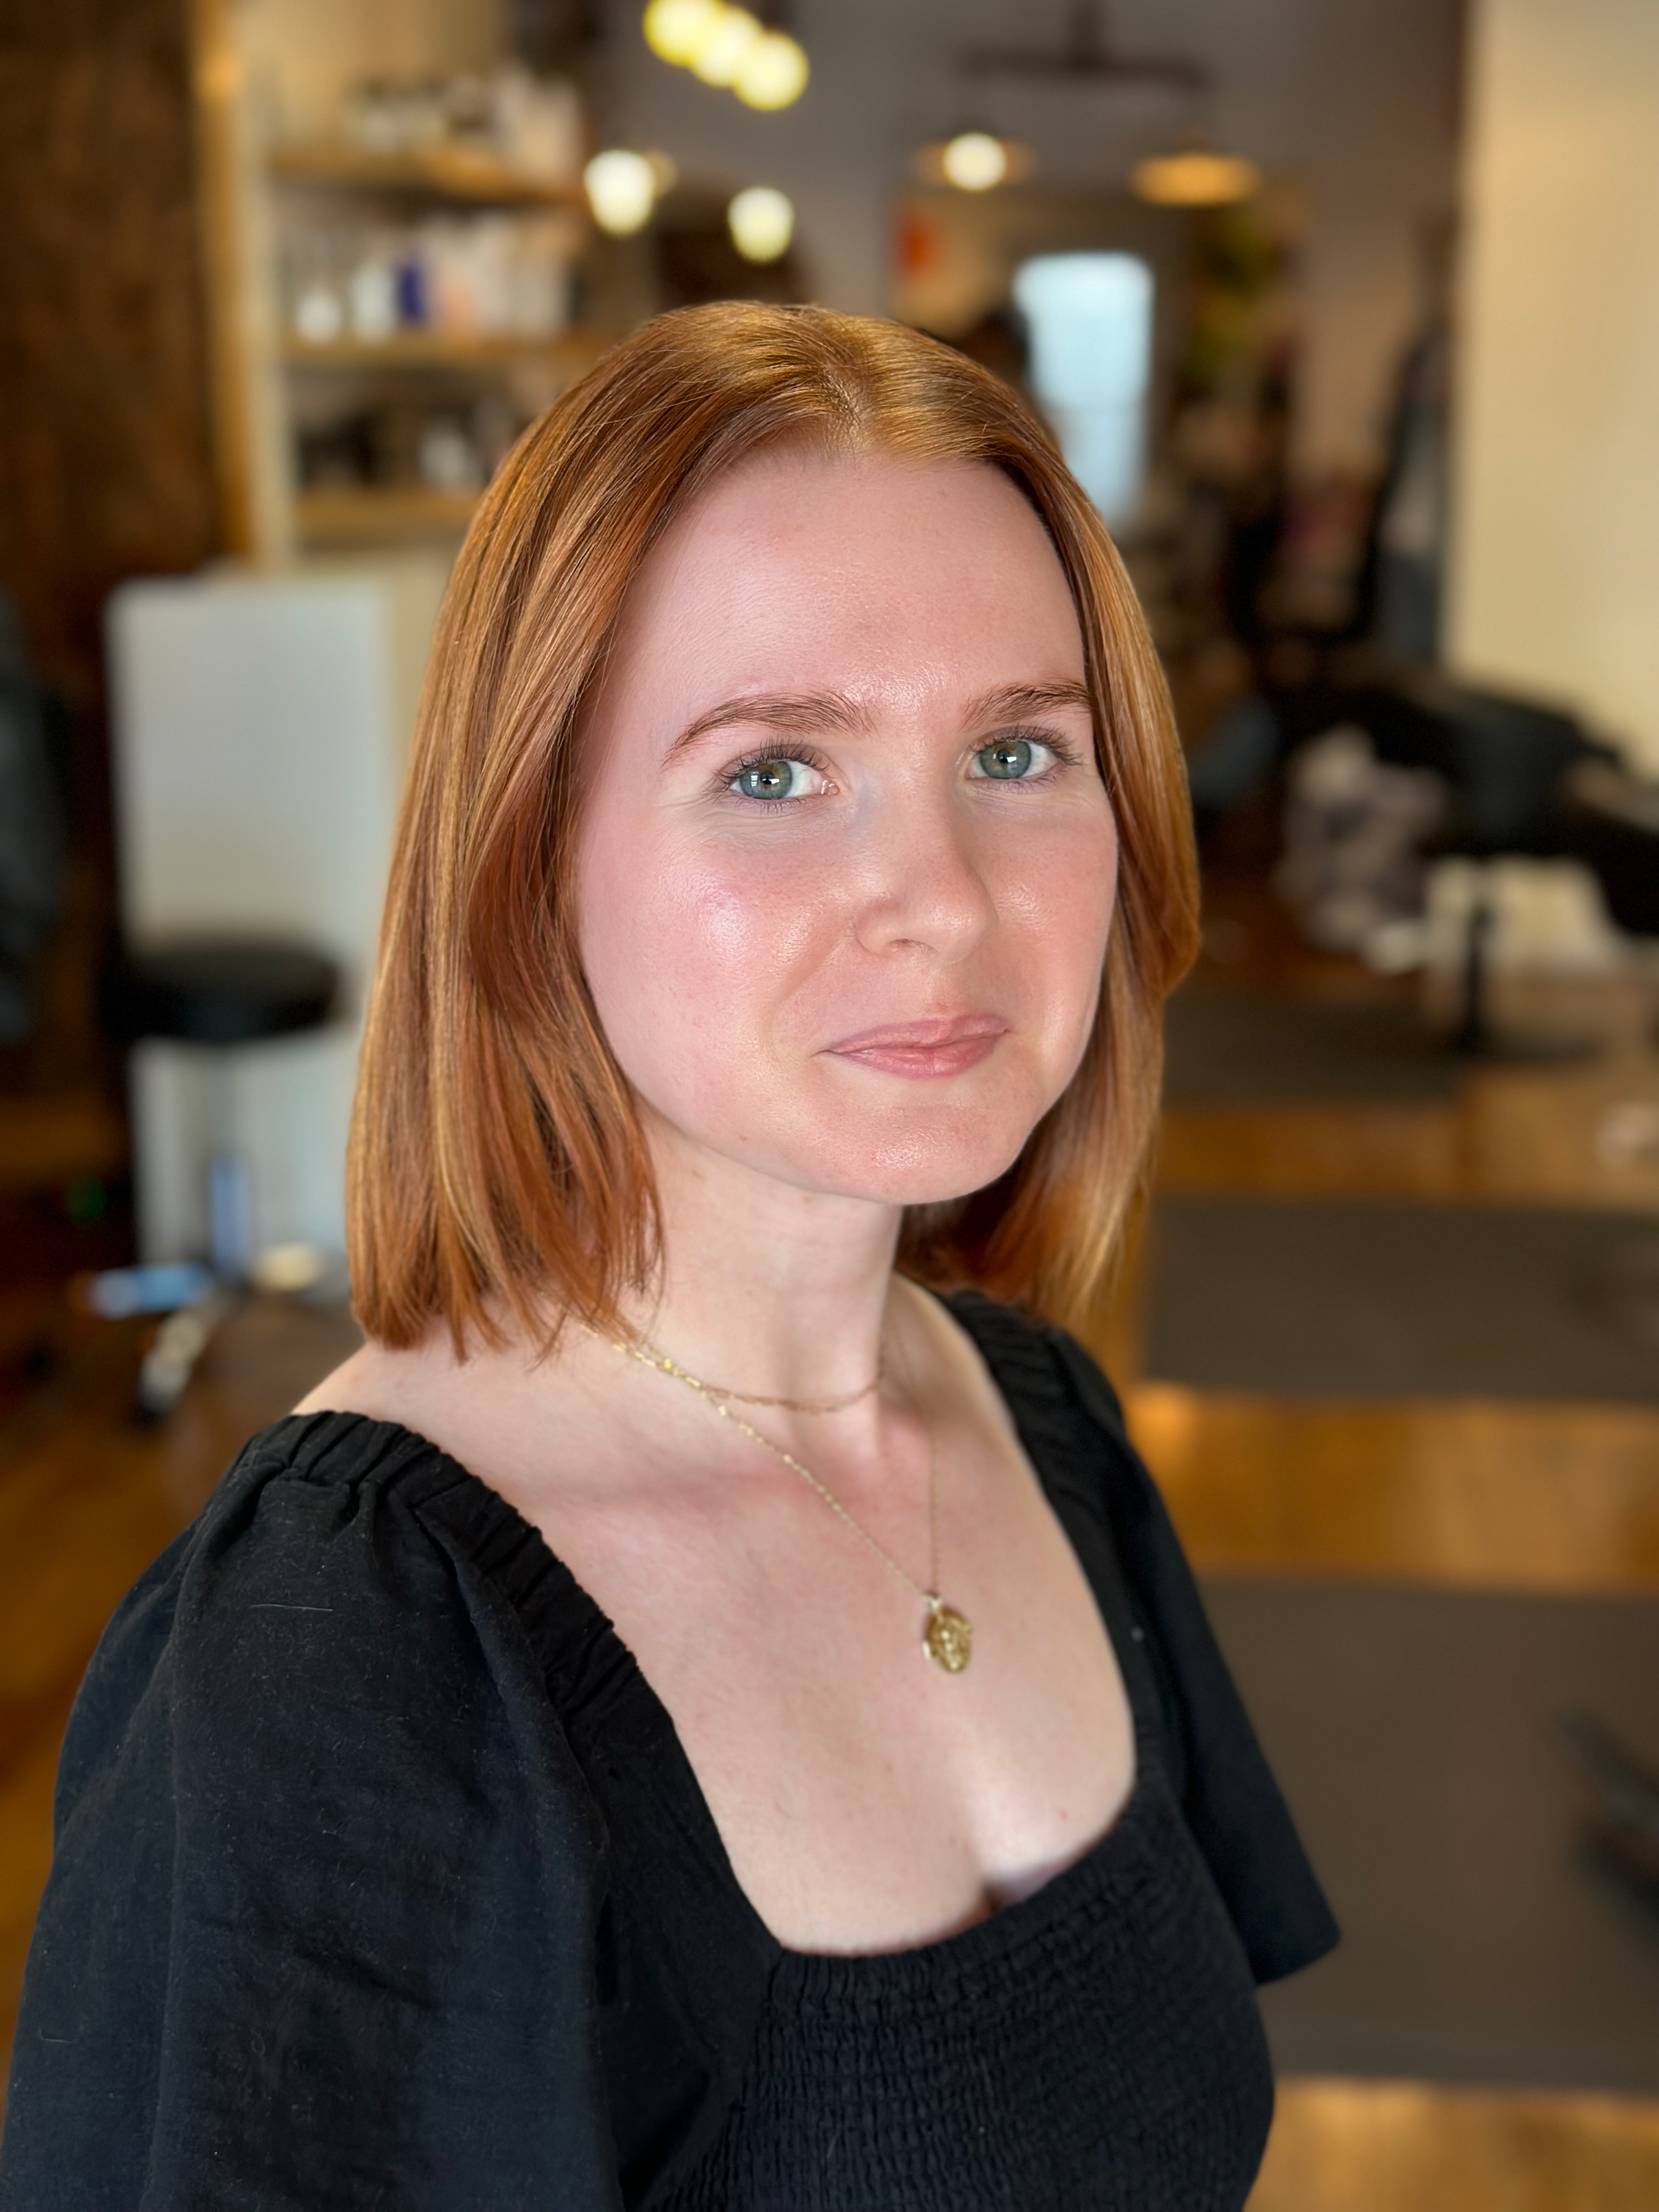
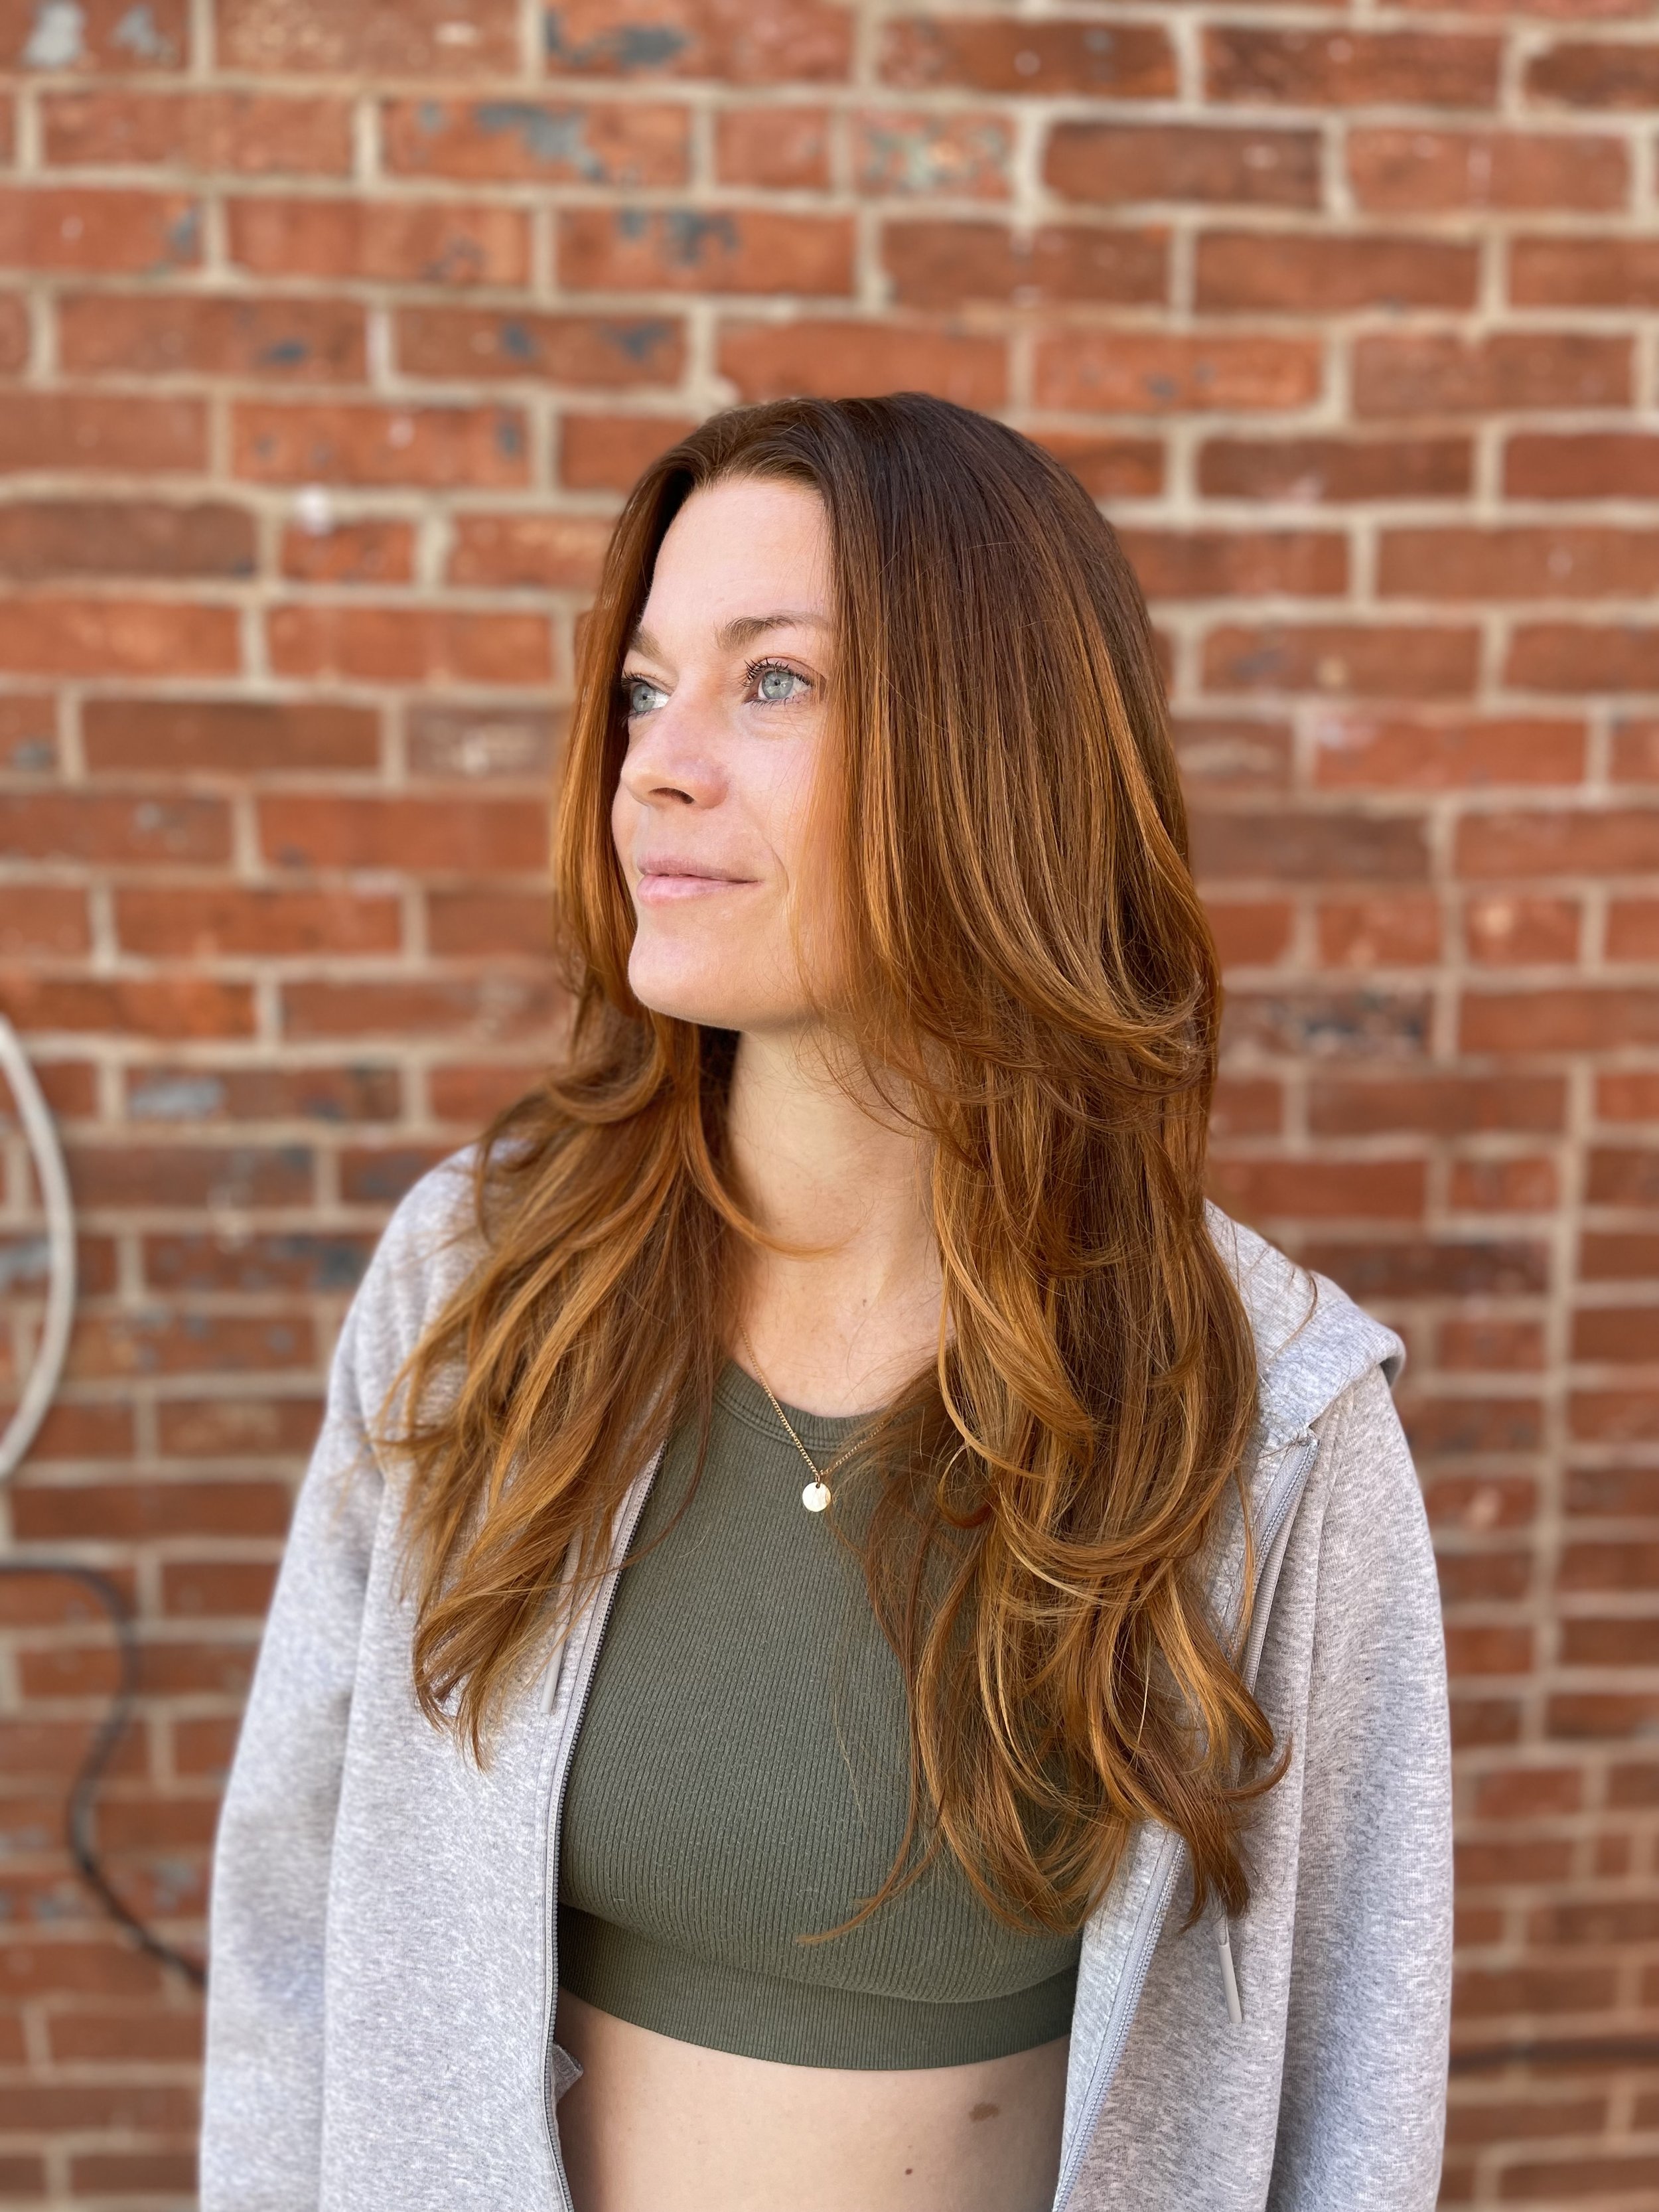
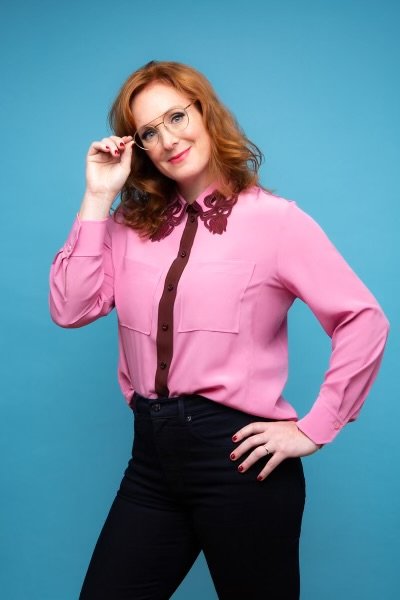
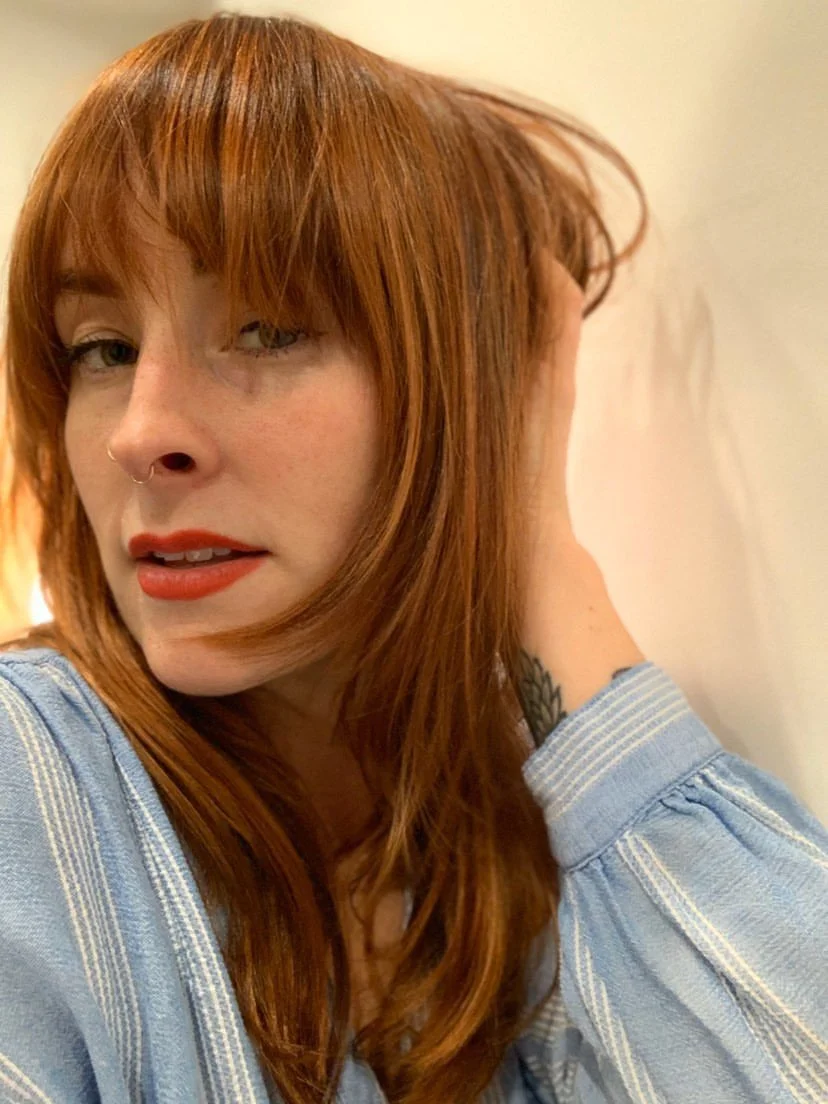
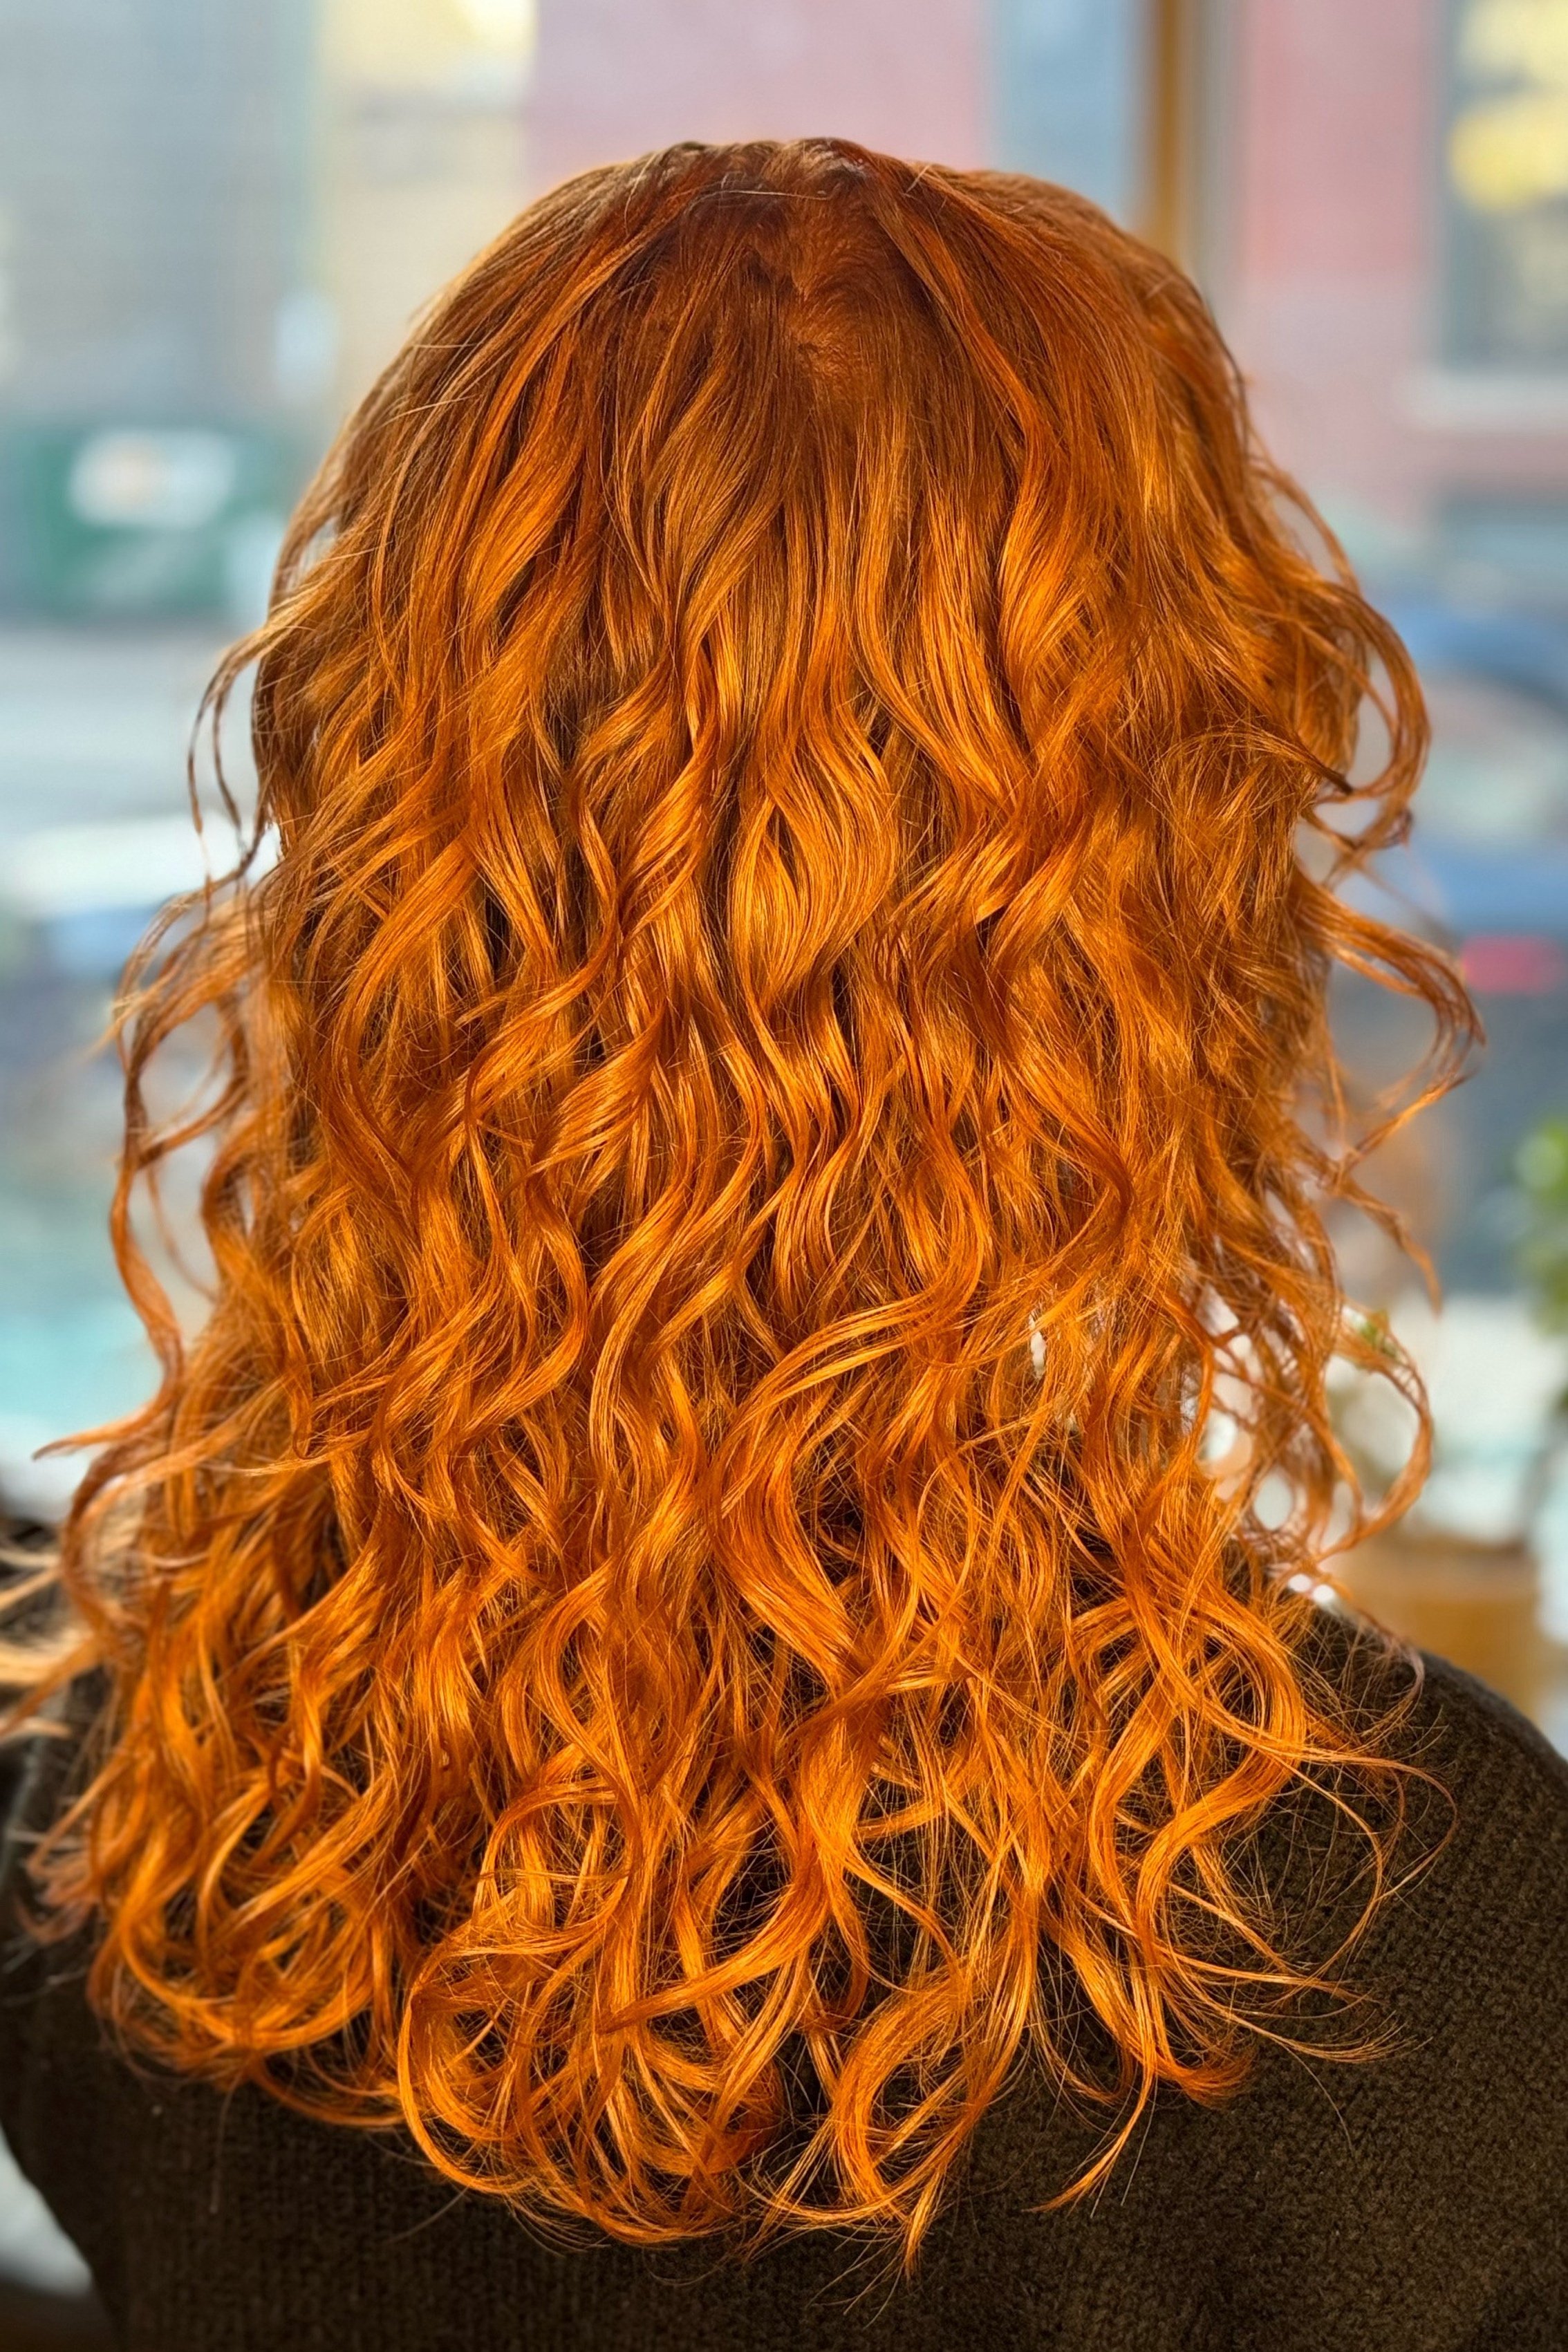
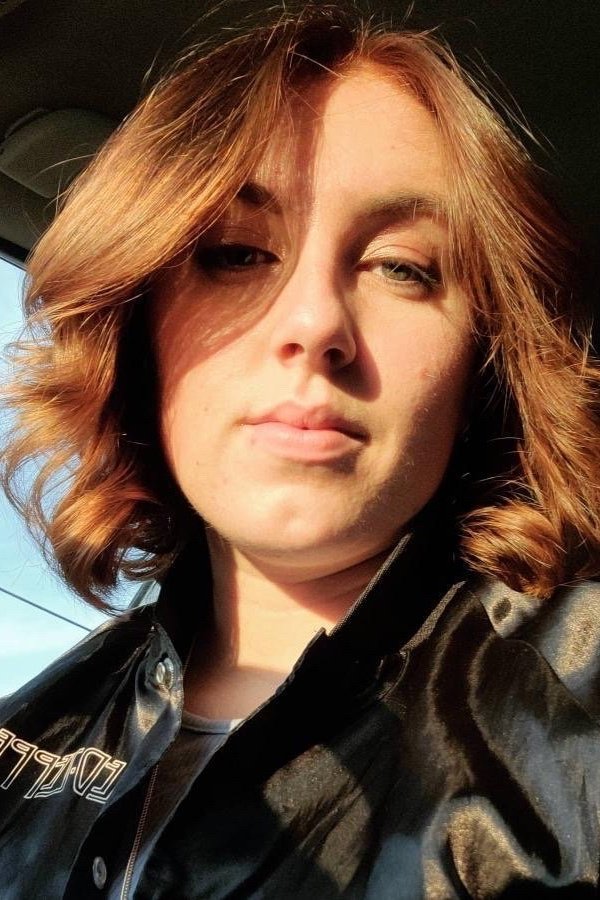
Well, that’s all folks! Here are some more images of some unnatural “natural” redheads I’ve done. Do you see yourself in any of these? Feel free to comment below any questions you might still have about the process or about just being a redhead in general!